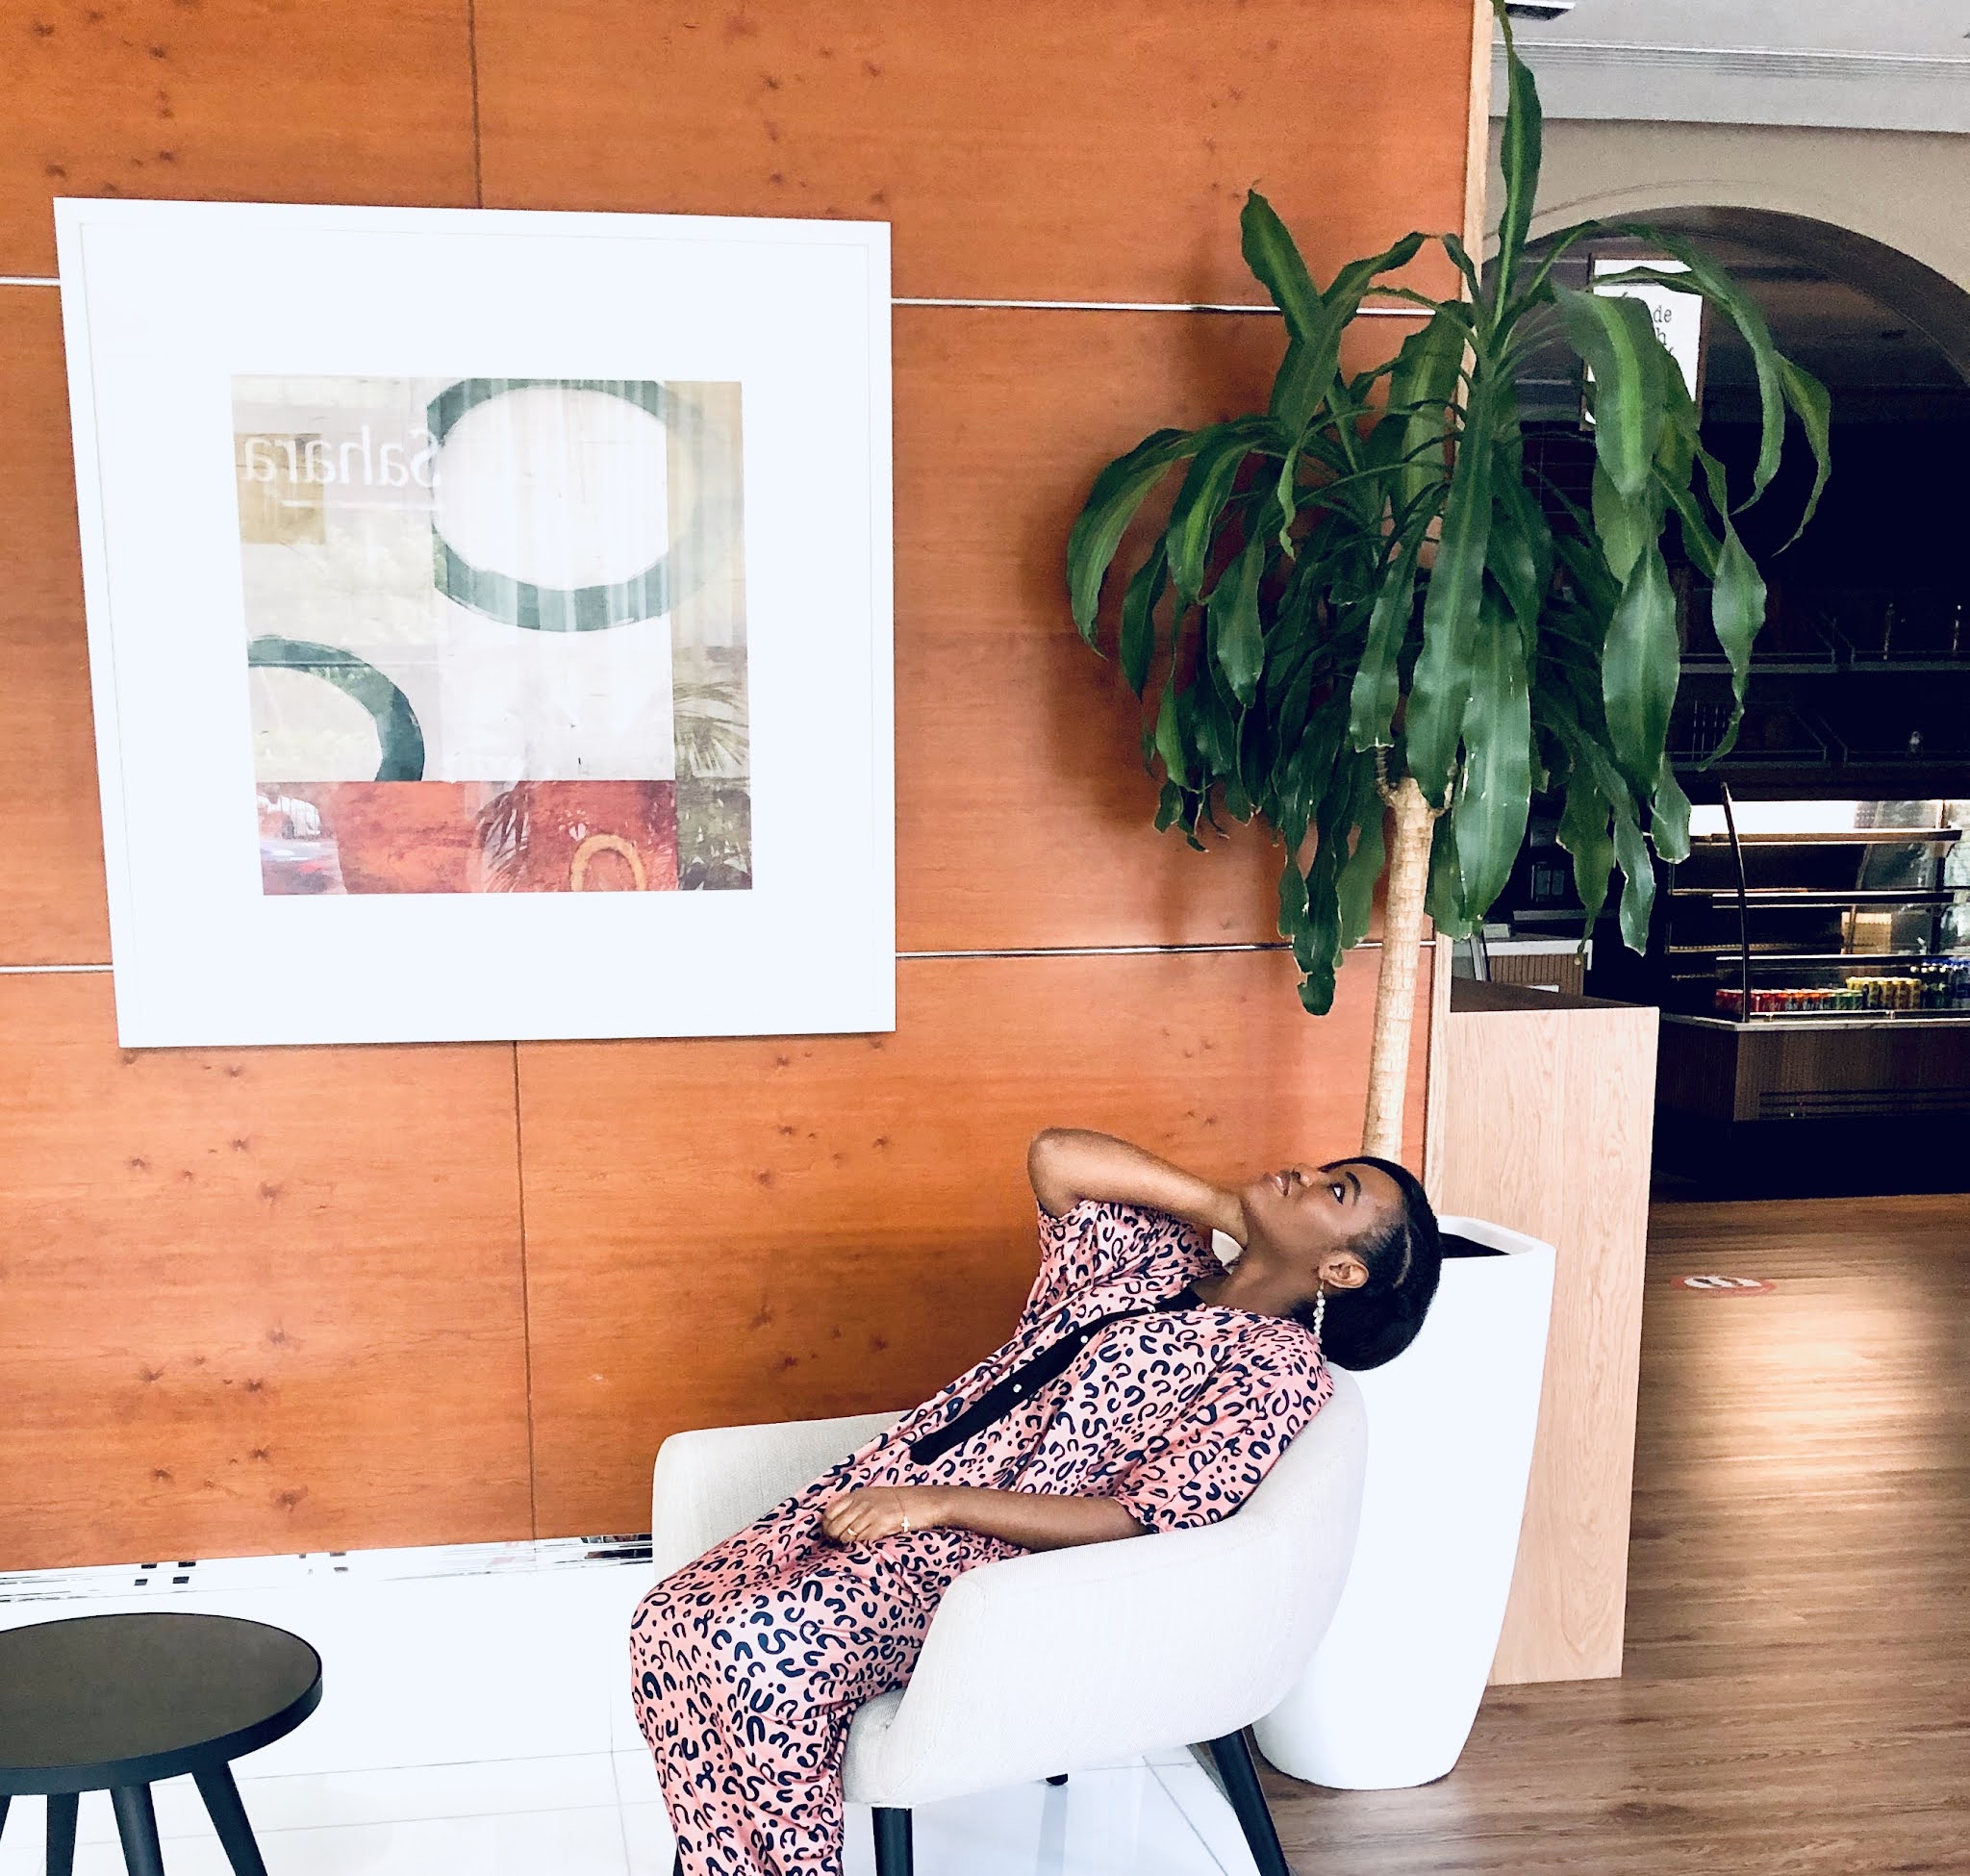
Hey Grace, I am inspired by your blogging journey! I want to ask, do you have any photography tips for new bloggers?
Someone asked this question a few weeks ago, and it got me thinking of my humble beginning as a blogger- I didn’t have the essential photography tools; it was just me, my iPhone and my dependence on people.
Now that I have the basic photography tools most lifestyle bloggers use, I don’t have to depend on passersby, family members, or friends to take ‘Instagram-worthy’ photographs for my blog.
So to answer the previous question, I have someone who takes photos of me regularly, but I use my tools when she isn’t around.
This guide will summarize a few photography tips and tools you’ll need as a blogger.
- Shoot from different angles. According to snapshot.canon-asia.com, angle refers to the degree at which the camera points towards the subject. Holding the camera at a horizontal level to the subject is known as ‘eye-level angle’, holding the camera facing downwards is known as ‘high angle’, and holding it facing upwards is known as ‘low angle’.

2. Don’t miss the golden and blue hour.
According to adobe.com, the golden hours are the last hour before sunset and the first hour after sunrise. It is also called “the golden hour” or “magic hour,” these times provide the perfect light to capture stunning photos. That window of time is determined by where you are geographically, as well as the season. Additionally, the blue hour photography refers to pictures taken during a specific window of time that happens twice daily – an hour before sunrise and right after it has set in the evening.


3. Photo Editing.
You don’t have to be a professional editor or graphic designer to make your photos look fantastic! I don’t over-edit my pictures because I don’t want to look different from the real Grace. I edit my images using the Instagram photo editor, Snapchat filter and iPhone photo editor. However, it is essential to know how to edit your photos using professional photo editing apps.

4. Black and white photo.
Monochrome photography utilizes differing amounts of light instead of different colours to capture and represent images.

5. Strike a pose.
According to Kaspars Grinvalds, photographer the author of Posing App, pose is the starting point, and each one offers endless variations. So be creative; soon, you’ll capture some stunning portraits in no time!

6. Take several shots.
Behind every “instaworthy” photo that successfully makes it to a blog post are many funny-looking pictures. Therefore it is advisable to take several shots and choose the best.
7. Be creative.
Those photography ideas that you think are weird try them out. You can never tell how great it will look, except you give it a shot!

8. Record videos and take screenshots.
Another exciting and productive way to take photographs of yourself when you’ve got no assistance is by following this tip:
- Record a video of yourself.
- Watch the video and look for the best moments.
- Take screenshots of those moments.
- Edit the photos.
9. Always go out with your camera.
The best ideas and moments are created when you are out of your comfort zone. So always go out with your camera to capture spontaneous moments and iconic places.

10. Search for photoshoot ideas on Pinterest.
Before your photoshoot sessions, search for photography ideas, fashion styles and poses that will make you look more stunning.
11. Try out various backdrops.
In photography, backdrops are used to create a specific visual scene behind the subject of the photo. They can add dimension and depth to an image. Furthermore, it can be used to hide the imperfections of an environment. A backdrop can either be a unique background or a DIY photo backdrop.

12. Choose the best clothing and colours for your skin tone.
I wear outfits that make me look slimmer (sometimes bigger, depending on the angle and purpose of the photoshoot), portray my personality, enhance my skin tone by being specific about the colours, sizes, patterns, styles, lengths, and so on.
13. Want to create a banner? Leave white space within your photo.
White space (also known as negative or open space) is the space between or surrounding subjects in a composition.

14. Boost your creativity by including props in your photos.
Props are all those objects that photographers add into the scene they’re photographing that are not the image’s main subject.

The following are the basic photography items you’ll need as a new blogger:
- Selfie stick.
- Tripod Stand.
- Remote.
- Selfie ring light.
- Power Bank.

In conclusion, keep practicing!
If you love this blog, kindly share the posts with your friends and loved ones. It will mean a lot to me to know your thoughts in the comments. Love, Grace


